Getting started
Follow this guide to connect Square and take your first test payment.
1. Open the setup wizard
After activation, go to Payments Square Connect → Get started in WordPress admin.
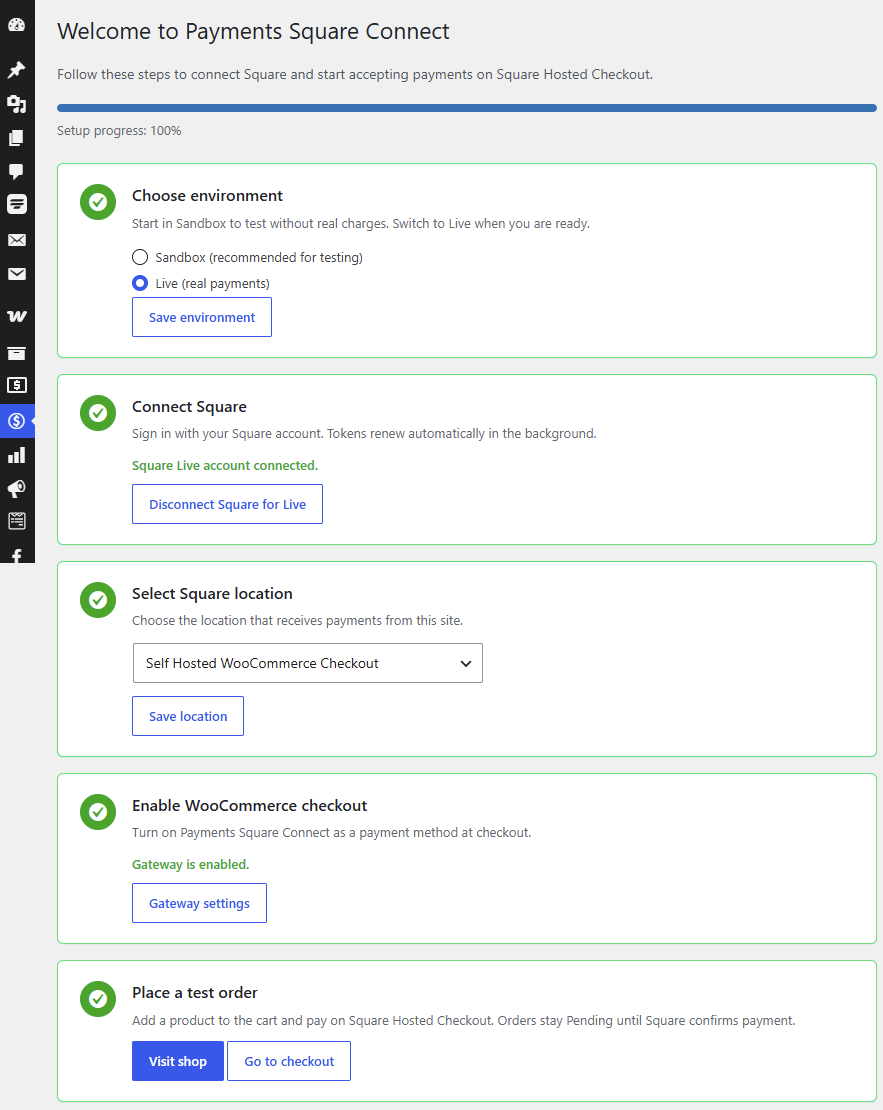
If you skipped setup, you can return anytime from the sidebar.
!!! tip "First time?" Start in Sandbox mode — no real money is charged.
2. Choose Sandbox or Live
| Mode | Purpose |
|---|---|
| Sandbox | Testing with Square test accounts |
| Live | Real payments from customers |
You can connect both environments separately. Switching Sandbox/Live does not disconnect the other mode.
3. Connect Square (OAuth)
- Click Connect Square for Sandbox or Connect Square for Live.
- Sign in with your Square account and approve access.
- You return to WordPress automatically.
The plugin renews OAuth tokens in the background — no manual reconnects for normal use.
4. Select a location
Choose the Square location where payments should be recorded. Save settings.
5. Enable WooCommerce (optional)
If you use WooCommerce:
- In the wizard, click Enable WooCommerce gateway, or go to WooCommerce → Settings → Payments.
- Turn on Payments Square Connect.
- Place a test order and complete checkout on Square Hosted Checkout.
6. Configure webhooks (recommended)
Copy the webhook URL from Payments Square Connect → Connect and add it in the Square Developer Dashboard.
Webhooks help save Square payment IDs when buyers close the browser early — important for refunds.
:octicons-arrow-right-24: Webhook setup
7. Go Live
When Sandbox tests pass:
- Switch environment to Live on the Connect screen.
- Connect Square for Live (if not already).
- Select your Live location.
- Enable wallets under Checkout Settings (Live only).
Admin menu overview
| Screen | Purpose |
|---|---|
| Get started | Onboarding wizard |
| Payments Square Connect | OAuth, environment, location, webhooks |
| Checkout Settings (Beta) | Wallets, tipping, branding (Live) |
| Subscription Plans | Copy Square plan IDs |
| Documentation | Opens this docs site |
| Support | Email, WhatsApp, forum |